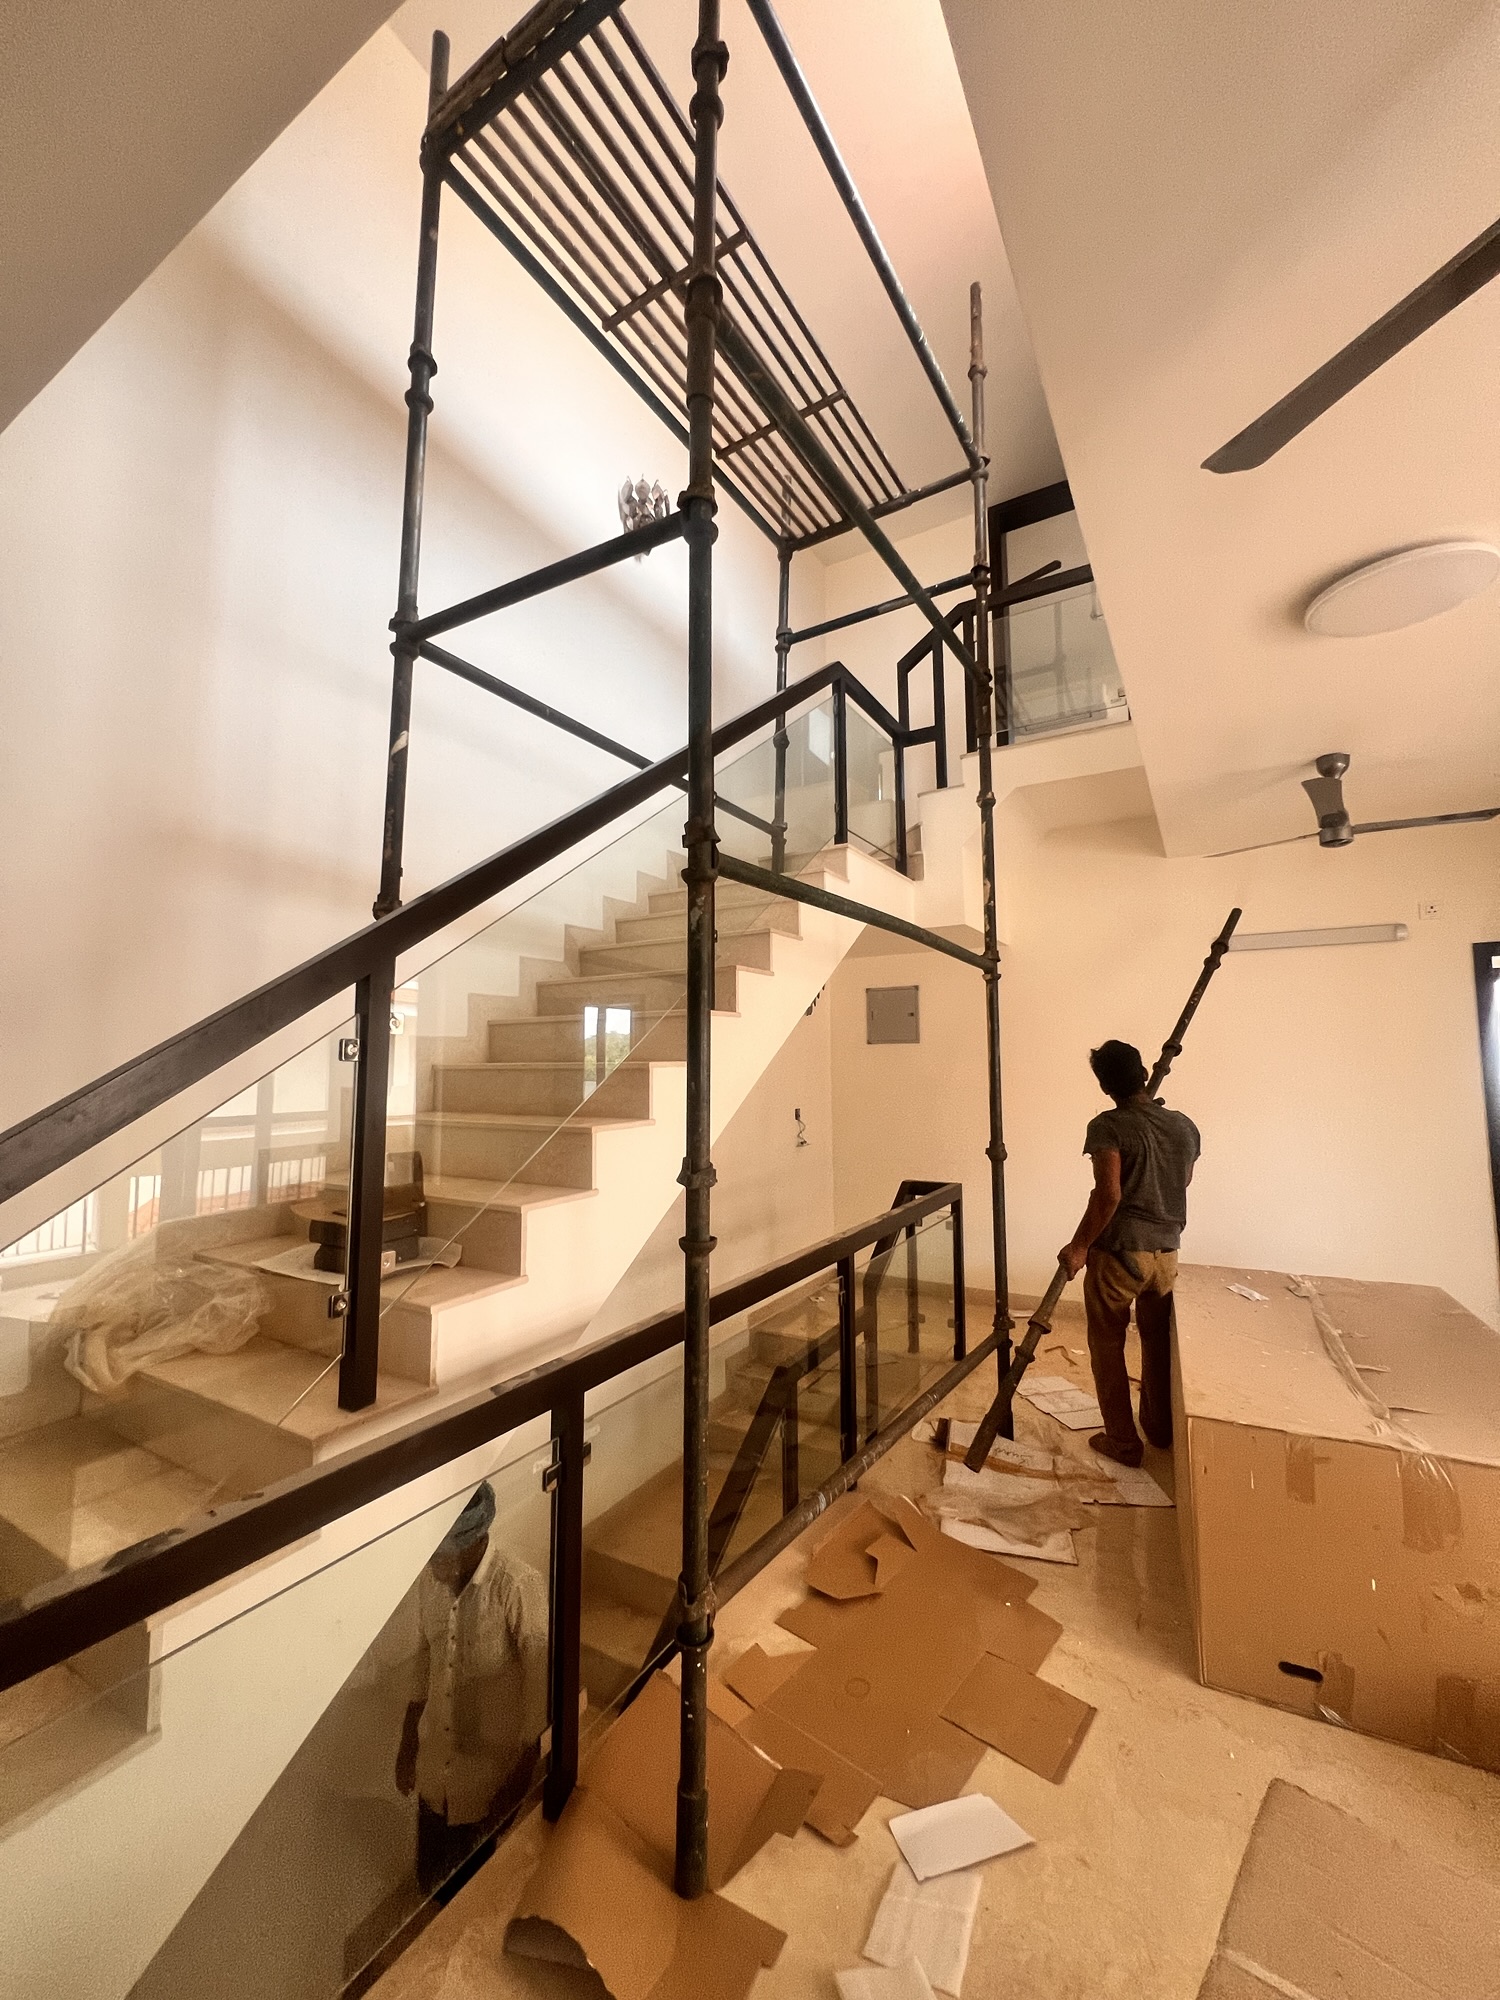
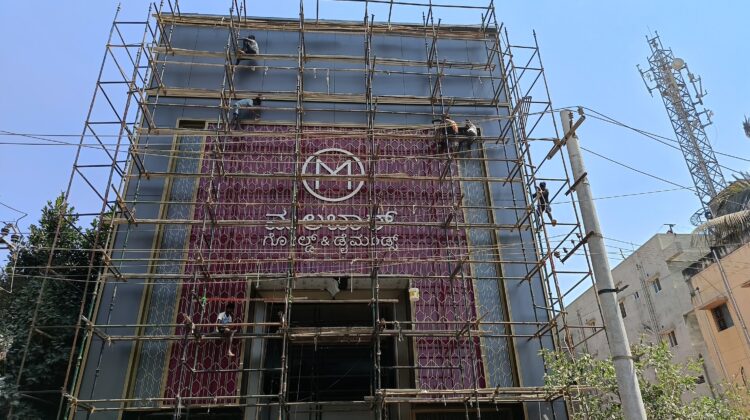
How to Install Scaffolding:
How to Install Scaffolding: A Complete Step-by-Step Guide
Introduction
Scaffolding is one of the most critical temporary structures on any construction or renovation site. Improperly installed scaffolding is a leading cause of workplace injuries, which is why installation must follow strict procedural and safety standards at every stage. This guide walks through the complete process of installing scaffolding professionally and safely — from site assessment to final inspection.
Important note: Scaffolding installation should always be carried out or supervised by trained, certified scaffolders. This guide is intended to explain the process for informational purposes — it is not a substitute for professional installation or local safety regulations.
Pre-Installation Planning
Site Assessment
Before any equipment arrives, the site must be inspected for:
- Ground stability and levelness
- Overhead obstructions (power lines, trees, structures)
- Access routes for material delivery
- Proximity to public pathways or roads (may require permits or barriers)
Choosing the Right Scaffold Type
The scaffold type depends on the job:
- Tube and coupler scaffolding — flexible, used for irregular structures
- Frame scaffolding — faster to assemble, common for residential jobs
- System scaffolding — modular, used for larger commercial projects
- Mobile/tower scaffolding — for short-duration, movable access needs
Permits and Compliance
Depending on location, scaffolding near public roads, footpaths, or above a certain height may require:
- Local municipal permits
- Compliance with national/regional scaffolding safety codes (e.g., IS 3696 in India)
- Site-specific risk assessments
-
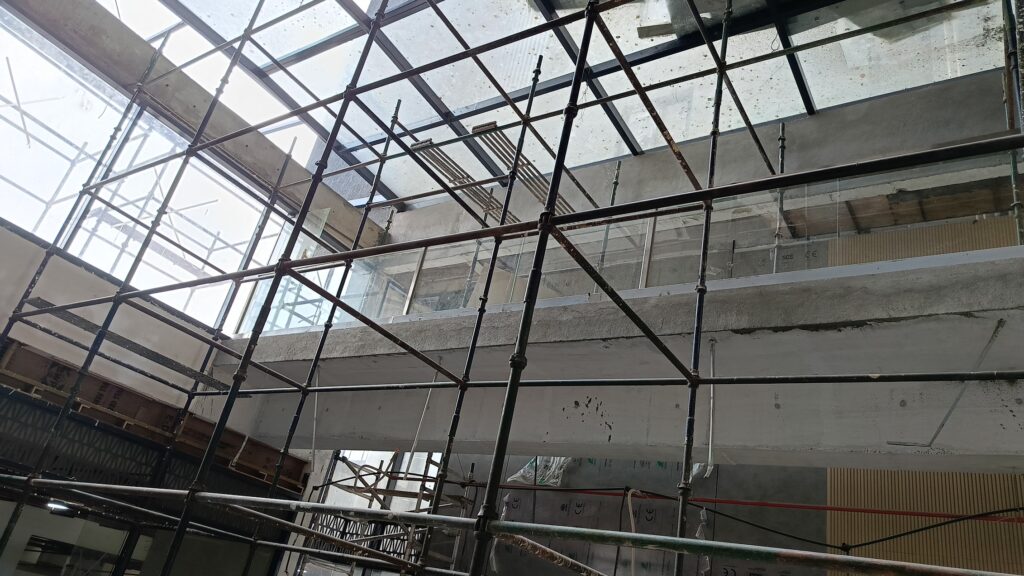
Scaffolding Near Devanahalli Airport
Materials and Equipment Checklist
Before installation begins, confirm you have:
- Base plates and sole boards (for load distribution on soft ground)
- Standards (vertical tubes)
- Ledgers (horizontal tubes)
- Transoms (cross supports)
- Couplers/clamps
- Diagonal braces
- Guardrails and toe boards
- Scaffold boards/platforms
- Ladders or stair access units
- Personal protective equipment (PPE): helmets, harnesses, gloves, non-slip footwear.
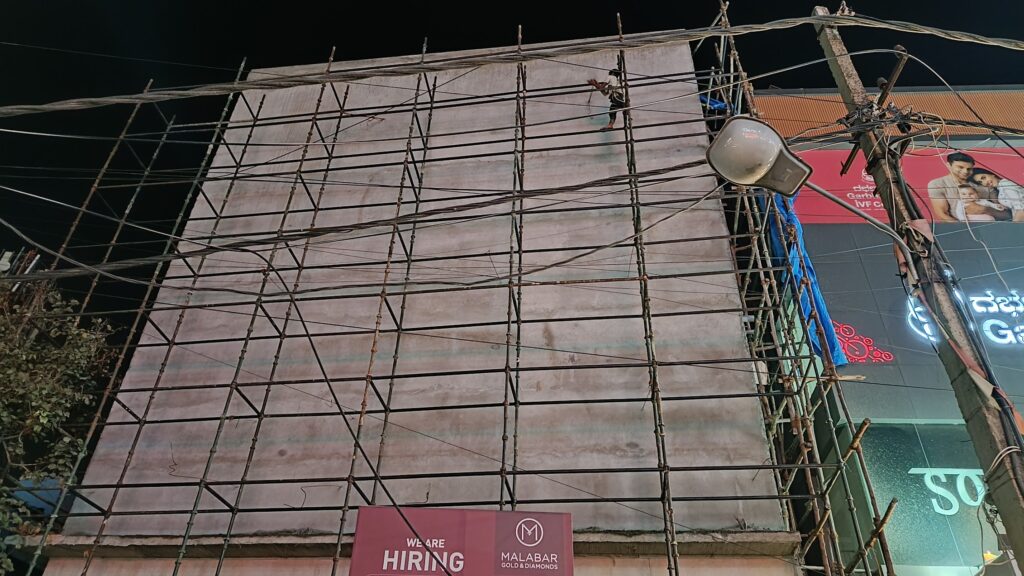
Scaffolding Rental Bangalore – Ruman Scaffolding (40)
Step-by-Step Scaffolding Installation Process
Step 1 — Prepare the Base
Lay sole boards on firm, level ground to distribute weight evenly. Place base plates on top of the sole boards at each upright position. Uneven or soft ground is one of the most common causes of scaffold collapse, so this step should never be rushed.
Step 2 — Erect the Standards (Vertical Tubes)
Position the vertical standards on the base plates, ensuring they are perfectly plumb (vertical) using a spirit level. Standards form the entire weight-bearing skeleton of the structure.
Step 3 — Install the Ledgers and Transoms
Connect horizontal ledgers between the standards at each lift (level) height, followed by transoms to create stability across the width of the scaffold. Secure all connections tightly with couplers.
Step 4 — Add Diagonal Bracing
Install diagonal braces along the length and, where required, across the width of the scaffold. Bracing prevents lateral movement and is essential for structural rigidity — this step is frequently overlooked in unsafe installations.
Step 5 — Lay the Working Platform
Place scaffold boards across the transoms to create a stable working platform. Boards should be free of damage, properly overlapped, and secured to prevent movement or tipping.
Step 6 — Install Guardrails and Toe Boards
Fit guardrails at the required height along all open edges of the platform, along with toe boards to prevent tools or materials from falling. This is a non-negotiable safety requirement at height.
Step 7 — Add Access Points
Install ladders or staircase access units at designated points, ensuring they are securely fixed and provide safe entry/exit at every lift level.
Step 8 — Repeat for Additional Lifts
For multi-level scaffolding, repeat Steps 3–7 for each additional lift, ensuring each level is fully braced and secured before proceeding to the next.
Step 9 — Final Inspection and Tagging
know: How to rent Scaffolding in Bangalore
Once assembly is complete, a competent person must inspect the entire structure for:
- Plumb and level alignment
- Secure couplers and connections
- Proper bracing
- Guardrail and toe board placement
- Overall load capacity rating
The scaffold should then be tagged (e.g., “Scaffold Inspected — Safe for Use”) with the inspection date and inspector’s name.

scaffolding rental HSR Layout Meta Description: Looking for scaffolding rental in HSR Layout Bangalore? Get cuplock,
Ongoing Safety and Maintenance
- Inspect scaffolding at the start of every shift
- Re-inspect after any adverse weather (high winds, heavy rain)
- Never modify or remove components without approval from a competent person
- Maintain clear signage and barriers at ground level
- Dismantle in the reverse order of installation, level by level
Common Mistakes to Avoid
- Skipping ground assessment and using unstable bases
- Missing or insufficient diagonal bracing
- Overloading platforms beyond rated capacity
- Failing to secure guardrails on open edges
- Using damaged or mismatched components
- Not conducting regular safety inspections during extended use
Frequently Asked Questions About Scaffolding Installation
| Question | Answer |
|---|---|
| Who is qualified to install scaffolding? | Scaffolding should only be installed by trained, certified scaffolders familiar with local safety codes and load-bearing requirements. |
| How long does it take to install scaffolding? | A standard residential scaffold can typically be installed within a few hours to a full day, depending on size and complexity. |
| Is a permit required to install scaffolding? | Permits are often required if the scaffold extends onto a public road, footpath, or exceeds a certain height — check local municipal requirements. |
| What is the most important safety step during installation? | Ensuring a stable, level base is critical, since an unstable foundation is the leading cause of scaffold collapse. |
| How often should scaffolding be inspected? | Scaffolding should be inspected before first use, at the start of every shift, and after any severe weather event. |
| Can scaffolding be installed on uneven ground? | Yes, but it requires additional base support such as adjustable base plates or leveling to ensure stability. |
| What PPE is required during scaffold installation? | Helmets, safety harnesses, non-slip footwear, and gloves are standard requirements for installation crews. |
| How is scaffolding safely dismantled? | Dismantling follows the reverse order of installation, removing components level by level from the top down. |
Conclusion
Proper scaffolding installation is a precise, safety-critical process that protects both workers and the public. Every stage — from ground assessment to final inspection — plays a role in the structure’s overall stability. For any project requiring scaffolding, always engage certified professionals to ensure the installation meets safety standards and local regulations.